You just finished drilling a row of rivet holes and notice the heads sitting proud, a slight wobble in one that could tear the skin later. You’re staring at mismatched rivet lengths and a countersink that doesn’t match the fastener, wondering which mistake will bite you on the next flight inspection. Most people skip proper clamping, deburring, and matching rivet material, then blame the tool when joints fail.
This article will show exactly how to pick the right rivet, clamp and back up skins correctly, control drill and rivet placement, and handle PPE, ventilation, and sharp disposal so your rivets sit true and corrosion won’t ruin the repair. You’ll get step-by-step actions and the outcome: durable, factory-quality joints. It’s easier than it looks.
Key Takeaways
Before you start, know this matters because small mistakes ruin panels and safety gear keeps you working. If you skip protection, metal dust can blind or make you sick.
1) What protective gear should you wear?
Why it matters: wearing proper PPE prevents injury and long-term breathing damage.
Steps:
- Put on ANSI Z87.1 safety glasses (wraparound style) and snug them so they don’t slip.
- Wear cut-resistant gloves rated for your task; remove them when changing bits.
- Use an N95 or P100 respirator whenever you see dust or smell fumes.

Real-world example: while riveting a wing rib in a dusty garage, my colleague kept glass chips out of his eye because he used wraparound Z87.1 glasses and a P100 mask.
Clamp and Cleco parts securely with solid sacrificial backing to prevent hole wandering and panel deformation.
Why it matters: if parts shift, holes elongate and your panel will flex when you set rivets.
Steps:
- Use Clecos every 1–2 inches along the joint for thin skins, and every 3–4 inches for thicker panels.
- Place a 0.040–0.063″ sacrificial plate under the drill area directly behind the hole.
- Tighten clamps so the parts are flush; aim for even pressure without crushing the skins.
Real-world example: when riveting a fuselage skin, adding a 0.050″ backing plate stopped the drill bit from walking and kept rivet holes perfectly round.
How to size and drill rivet holes correctly?
Why it matters: a slightly oversized hole leads to loose rivets and structural weakness.

Steps:
- Start with a pilot drill (e.g., #40) to locate the hole.
- Step up drill sizes in increments—don’t jump more than two sizes at a time.
- Choose a final bit 0.005–0.010″ smaller than the rivet shank (for example, for a .125″ rivet, use a .120–.123″ bit).
Real-world example: while replacing a bracket with AN426 rivets, I used a pilot then stepped up to a final bit 0.003″ under the rivet and got a tight, no-wobble fit.
How do you match rivet material, size, and head style?
Why it matters: the wrong combination causes galvanic corrosion, poor seating, or tool overload.
Steps:
- Match rivet material to the substrate: use aluminum rivets on aluminum, and steel rivets only with steel parts; avoid aluminum-to-steel contact without isolation.
- Choose rivet diameter and grip length per stack thickness—measure total thickness and add 1.5× shank diameter as a rule of thumb for grip range.
- Pick head style for the surface: AN470 countersunk for flush skins, AN426 universal for general use.
Real-world example: attaching an aluminum bracket to an aluminum skin, I used 3/32″ aluminum AN426 rivets with the correct grip length to avoid corrosion and ensure a smooth fit.
How should you operate the rivet gun and inspect each set?

Why it matters: poor technique deforms heads and leaves loose joints.
Steps:
- Keep the gun perpendicular to the surface—no more than a 10° tilt.
- Use short bursts (about 0.2–0.5 seconds) rather than a long continuous pull.
- After each rivet, inspect the shop head: it should be smooth and mushroomed without cracking; check hole fit for any movement.
Real-world example: while learning with a pneumatic gun, switching to short bursts and a perpendicular stance eliminated flattened shop heads and gave consistently shaped, strong rivets.
Final quick checklist before you rivet:
- Glasses: ANSI Z87.1. Mask: N95/P100. Gloves: cut-resistant.
- Cleco spacing: 1–2″ thin, 3–4″ thick. Backing plate: 0.040–0.063″.
- Drill: pilot, step up, final = rivet shank −0.005–0.010″.
- Material match: avoid aluminum-to-steel contact. Use correct grip length.
- Gun: ≤10° tilt, short bursts, inspect shop head and hole tightness after every rivet.
Quick Safety Checklist: PPE, Clamping, and Ventilation
Before you start riveting, you need to know the three basics: PPE, clamping, and ventilation — they stop most accidents and rework. You’ll avoid flying particles, misaligned holes, and nasty fumes by checking these first. Example: on a small tailcone panel, I saw a misdrilled hole because the part shifted; secure clamps and a quick PPE check would have prevented it.
Why PPE matters
Why it matters: PPE protects your eyes, lungs, and hands from debris and sharp edges while you work. Example: when I drilled rivet holes on an aluminum skin, a tiny chip ricocheted and hit my safety glasses — they stopped an eye injury.
Steps:
- Put on ANSI Z87.1 safety glasses (wraparound style) before you touch tools.
- Use an N95 or P100 mask when you expect dust or fumes; if you’re unsure, go with P100.
- Inspect gloves for tears, punctures, or oil — check four things: thumb, index finger, palm, cuff.
- Replace gloves if you find any damage or if oil won’t wipe off in one pass.
Clamping: keep parts from moving
Why it matters: if the workpiece shifts, holes go out of alignment and you’ll rework or scrap parts. Example: on a wing rib, a loose Cleco let the sheet slip a fraction and the hole pattern no longer matched the rib.
Steps:
- Use clamps plus Clecos: start by tacking with 2–3 Clecos along the edge, then add 2–4 clamps spaced about every 6–8 inches (15–20 cm) on larger panels.
- Tighten clamps until the parts stop moving but don’t crush thin skin — aim for firm contact, not max force.
- Re-check alignment by measuring a reference dimension before drilling and after installing each set of Clecos.
Ventilation and cleanup
Why it matters: removing dust and fumes keeps your breathing safe and prevents contamination of fasteners and assemblies. Example: when bucking rivets on a small compartment, poor airflow let oil mist linger and settle on nearby parts.
Steps:
- Set up local exhaust or a shop-vac with a HEPA filter positioned within 6–12 inches (15–30 cm) of the work area.
- Run the ventilation on high during drilling or bucking, and for 2–3 minutes after finishing to clear the last particles.
- Keep a labeled sharps container or metal bin within arm’s reach for spent rivets and sharp cuttings; empty it when it’s 75% full.
Quick checklist you can read in 15 seconds
- Glasses on. Mask on if dust/fumes. Gloves inspected.
- 2–3 Clecos, clamps every 6–8 inches. Measure once.
- Local exhaust 6–12 inches away. Run during work and 2–3 minutes after.
- Sharps container within reach; empty at 75%.
You’ll save time and avoid injuries by making these checks a habit before every riveting session.
Recommended Products

DEWALT ToughCoat hard coated lens provides tough protection against scratches.

Durable, one piece lens helps protect eyes from certain liquids, dirt and particles

DEWALT ToughCoat hard coated lens provides tough protection against scratches.
Choose Rivets and Tools by Material, Diameter, and Grip

Before you start joining parts, know that matching materials prevents corrosion and keeps the joint strong.
Match rivet material to the parts you’re joining so you don’t get galvanic corrosion or a weak joint. Use aluminum rivets for aluminum panels (e.g., 0.040″ sheet on a car door skin), steel for steel frames (like a 1/8″ thick chassis bracket), and stainless for anything exposed to moisture or chemicals (boat hull fittings). For mixed-metal joints, use a barrier or pick a rivet of the more corrosion-resistant metal.
Think of diameter and grip like choosing a bolt size — the wrong one won’t work.
- Measure the hole diameter; pick a rivet with a shank diameter that matches the hole to within ±0.005″ (for hand work, common sizes are 3/32″, 1/8″, 5/32″).
- Measure combined material thickness with calipers and choose a rivet whose grip range includes that thickness (for example, if your two sheets total 0.125″ thick, pick a rivet with a 1/16″–1/8″ grip).
- Test on scrap to confirm the mandrel forms a full shop head and the rivet fills the hole.
If you’ve ever needed a flush surface, here’s how to choose the head style. For countersunk joints — like flush fairings on an aircraft skin — use countersunk heads sized to the hole (typically 82° or 100° countersink) so the head sits level. For general joining where bearing area matters — such as attaching a bracket — use round or pan heads; a 1/4″ head gives more bearing than a 3/16″ head.
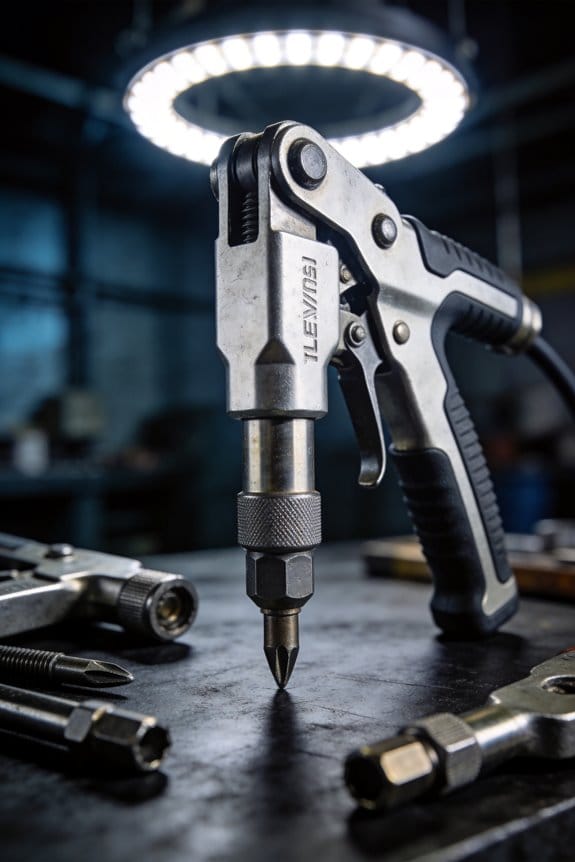
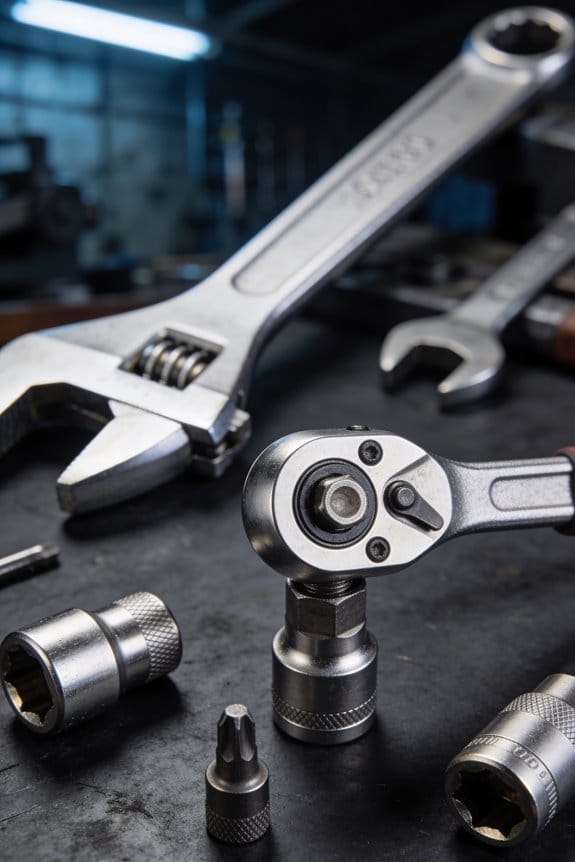
Before you pick a tool, understand why tool match matters: wrong tools leave weak or crushed joints.
- Match the rivet size to the riveter: hand pop riveters commonly handle up to 3/16″ steel; pneumatic riveters handle 1/4″ and larger.
- For stainless or large-diameter rivets, use a pneumatic or hydraulic tool rated for the material and diameter.
- Clamp the work, set rivet, squeeze or actuate tool, and inspect the formed head on both sides. Example: using a 1/8″ stainless rivet on an aluminum bracket with a hand riveter often won’t fully set the mandrel — use a pneumatic tool instead.
Practical testing saves you trouble: always set one rivet in scrap of the same thickness and material to check grip, head seating, and tool fit before you commit.
Recommended Products

【1000pcs Pop Rivets Set】: This pop rivets assortment kit with washers set includes 14 most used sizes for your various needs. Among, including 50pcs 3/32” x 1/4”, 50pcs 3/32” x 5/16”, 35pcs 1/8” x 1/4”, 40pcs 1/8” x 5/16”, 50pcs 1/8” x 3/8”, 50pcs 1/8” x 1/2”, 45pcs 5/32” x 3/8”, 35pcs 5/32” x 1/2”, 30pcs 3/16” x 5/16”, 30pcs 3/16” x 3/8”, 30pcs 3/16” x 1/2”, 30pcs 3/16” x 5/8”, 15pcs 1/4” x 3/8”, 10pcs 1/4” x 1/2”, total 500 pcs pop rivets. It also comes with 500pcs 5 sizes pop rivets washers.

Pop Rivets Size: This aluminum blind rivets assortment kit includes 40pcs 1/8" x 1/4", 40pcs 1/8" x 5/16", 30pcs 1/8" x 3/8", 30pcs 1/8" x 1/2", 15pcs 3/16" x 1/4", 15pcs 3/16" x 5/16", 15pcs 3/16" x 1/2" and 15pcs 3/16" x 5/8".

✅HIGH QUALITY - The blind rivets are made of Aluminum Grip and Steel Mandrel. It's strong and corrosion-resistant for long-lasting use in any environment. Hand Riveter is made of high quality steel with rubber handle.
Drill and Countersink Rivet Holes: Bit Size, Deburr, and Support
Before you drill, know why hole fit and backing matter: a loose or deformed hole makes the rivet fail under load.
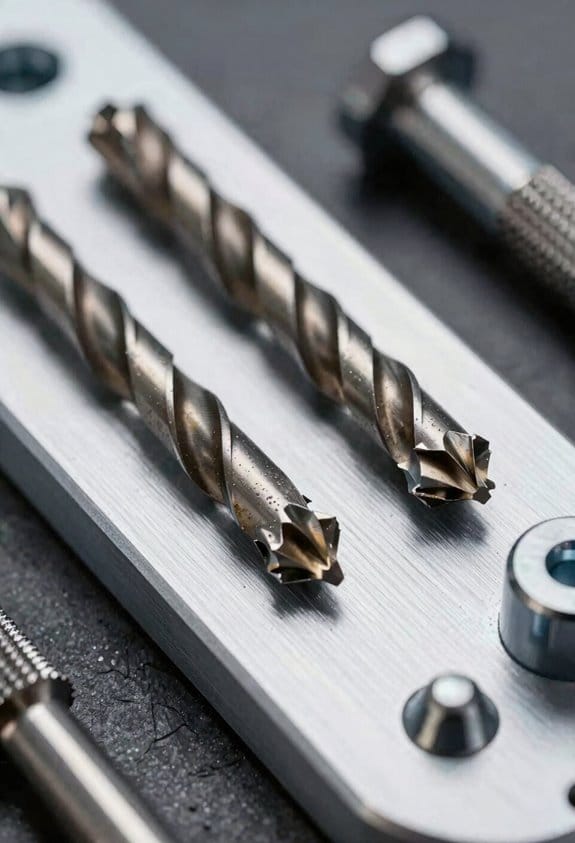
1) Which drill bit size should you use?
Why it matters: the wrong size leaves the rivet loose or impossible to set.
Steps:
- Measure the rivet shank diameter with calipers.
- Choose a bit 0.005–0.010 inches (0.13–0.25 mm) smaller than that diameter for a tight clearance fit — for example, if your rivet shank is 1/8″ (0.125″), use a 0.120″–0.124″ bit.
- If you want an interference fit for soft materials, match the bit to the shank size.
Real-world example: when riveting 0.032″ aluminum skins on a model airplane, I measure a 3/32″ (0.0937″) shank and use a 0.090″ bit so the rivet stays snug.
2) How do you drill without the hole wandering?
Why it matters: wandering holes ruin alignment and weaken the joint.
Steps:
- Clamp the pieces tightly with parallel jaw clamps or a drill press vice.
- Start a pilot hole with a small 1/16″ (1.6 mm) bit to establish position.
- Step up in size: use an intermediate bit (for example 3/32″ or 2.5 mm) then finish with your final bit.
- Use a center punch for metal to give the bit a tip to bite.
Real-world example: I jig two 0.040″ aluminum plates with a 1/16″ pilot and then step to 0.125″ for the final hole; the edges stay lined up every time.
3) How should you support soft backing materials?
Why it matters: unsupported soft material deforms, producing oversized or ragged holes.
Steps:
- Place a solid sacrificial backing (hardboard, plywood, or a steel plate) under the workpiece directly beneath the drill location.
- For thin sheet metal, add a second clamp beneath the backing so everything compresses flat.
- If you’re working on honeycomb or foam-core panels, use a rigid spreader plate and clamp around the area.
Real-world example: when drilling into a composite panel, I put a 1/4″ MDF board under it and clamp around the rivet pattern so each hole stays clean.
4) How do you countersink and deburr so the head seats flush?
Why it matters: a rough countersink keeps the rivet head from sitting flat and can cause leaks or stress risers.
Steps:
- Match the countersink angle to the rivet head: common angles are 82° for universal rivets and 100° for some flush rivets; check the rivet spec.
- Use a pilot countersink stop or a depth gauge and set the depth so the rivet head is flush with the surface.
- Run the drill slowly (500–1,500 RPM depending on bit size and material) to avoid heat and tear-out.
- Deburr both sides with a deburring tool or a 120-grit Scotch-Brite and remove all sharp edges.
Real-world example: on a 1/8″ aluminum fuselage skin I use an 82° countersink cutter set to remove 0.040″ of material so the rivet sits flush without cracking the skin.
5) Final tips for consistent holes and setting rivets
Why it matters: consistency prevents weak spots across the assembly.
Steps:
- Inspect each hole with a drill gage or go/no-go pin before riveting.
- Keep drill bits sharp; replace them after about 50 holes in aluminum or when you see more burr than swarf.
- Work at a steady pace and don’t rush the countersink; you’ll avoid tear-out.
Real-world example: on a batch of 100 blind rivets for a trailer panel I mark and clamp a drilling fixture, change bits after 40 holes, and check every 10 holes with a go pin.
Remember to deburr every hole and support soft panels — that single habit improves fit and longevity.
Drive Rivets Correctly: Positioning, Tool Angle, and Sequencing

Here’s what actually happens when you drive a rivet: if you don’t control position, angle, and sequence, the joint will deform or fail under load.
Why it matters: misdriven rivets can crack skins or loosen under vibration. For example, on a small airplane flap hinge, a tilted rivet mushroomed and required a patch.
1) How to seat the rivet square and why that matters
- Why it matters: a tilted rivet head will mushroom or the tail will misform, ruining the joint.
- Steps:
- Put the rivet fully through the hole until the head sits flat against the surface.
- Use your fingertip to feel the rivet stem; line the driving tool so the stem is centered in the tool nose.
- Visually check from two angles—perpendicular to the panel and from the rivet line—so you confirm alignment within about 2–3 degrees.
- Real-world example: when you’re attaching a bracket to a motorcycle frame, you’ll feel even slight tilt with your fingertip before you fire the tool.
- Takeaway: if you can’t get the stem centered by feel and sight, back it out and start again.
2) How to hold the tool and when to adjust the angle
- Why it matters: holding the tool off gives uneven force and damaged heads.
- Steps:
- Keep the driving tool perpendicular to the work surface whenever you can; that’s 90 degrees to the panel.
- Only adjust angle when access forces you to—limit adjustments to no more than 10 degrees off perpendicular.
- When you must tilt, put a backing plate or bucking bar directly behind the blind side and press until it contacts the work to support the tail.
- Real-world example: on a crowded instrument panel where you can’t get straight on, you’ll tilt slightly but must press a 2–3 mm thick steel backing plate against the blind side to prevent tail collapse.
- Takeaway: perpendicular is best; if you tilt, support the blind side.
3) How to sequence rivets in rows to minimize distortion
- Why it matters: wrong order creates panel bowing and stressed fasteners.
- Steps:
- For a straight row, start at the center rivet and work outward in pairs: center, then one left, one right, then the next left, next right, etc.
- For a rectangular grid, follow a midpoint pattern: drive the middle rivet of each quadrant, then subdivide each quadrant the same way.
- After every 3–5 rivets, snug the next rivet lightly to hold position before fully driving the adjacent ones.
- Real-world example: when riveting a 200 mm by 100 mm sheet, start at the 100 mm center then work out in pairs to avoid cupping.
- Takeaway: center-out, paired patterns keep distortion down.
4) How hard to drive and how to recheck alignment
- Why it matters: overdriving snaps stems or flattens heads; underdriving leaves loose joints.
- Steps:
- Snug the rivet with short bursts—about 2–3 rapid hammer or tool hits—then pause and check alignment.
- Look for a formed tail that matches the head diameter plus 0.5–1 mm; if the tail is too thin or ragged, stop.
- If alignment shifts between shots, back off and reposition the rivet; don’t try to correct a bad set by extra force.
- Real-world example: on an aluminum skin, you’ll use 2–3 short impacts with a pneumatic rivet gun at 60–80 psi, then inspect the tail shape.
- Takeaway: short bursts, frequent checks, and stop before you overdrive.
Inspect, Maintain, and Dispose Rivets Safely

If you’ve ever inspected a fastener and missed a hidden problem, this is why.
Why it matters: a rivet that looks fine can fail under load and cause bigger damage. For example, on a small aircraft wing panel I inspected, a rivet with a hairline crack inside led to a loose panel and required removal of three adjacent rivets.
How to inspect rivets (step-by-step):
- Start with a visual check for wear, head distortion, or improper seating. Look for gaps larger than 0.5 mm around the head and hairline surface cracks visible with 10x loupe.
- Test tightness by attempting slight movement with a 5 mm feeler or fingernail pressure; any perceptible play means the rivet is suspect.
- Listen while you tap the head gently with a non-metallic pick; a dull thud can indicate looseness, while a clear ring suggests a tight joint.
- Measure stem protrusion with calipers and compare to the rivet standard for that part — typically 1.5 to 3 mm for flush rivets, 3 to 6 mm for solid round-head types.
- Record defects in your log with part number, location, and a photo, tag the assembly with bright tape, and replace any rivet that fails even one test. Replace it.
Real-world tip: on a motorcycle swingarm I checked, a rivet with 2 mm of play caused a squeak and eventual cracking of the arm; replacing the single rivet stopped the problem and prevented frame damage.
Why maintenance matters: corrosion and fatigue shorten rivet life and make failures sudden. For example, bikes stored outside developed brown staining at rivet heads from salt spray and needed several replacements during one season.
Basic maintenance steps:
- Keep riveted joints dry and sealed by applying a thin coat of corrosion-inhibiting compound such as light oil or approved sealant. Use about 0.1–0.2 ml per joint.
- Inspect rivets every 3 months or after any heavy use event; tighten or replace as you find movement.
- Train your team to identify fatigue: look for concentric cracking patterns near the head or slight elongation of the hole.
Disposal and recycling — why it matters: proper disposal prevents injury and recovers material value. I once cut off dozens of aluminum rivets after a repair and nearly injured my hand reaching into a bin.
Disposal steps:
- Sort metal rivets by type (aluminum, steel, copper) into labeled containers for recycling.
- Put cut-off stems and sharp pieces into a certified sharps container or metal scrap box with a lid.
- Follow local environmental rules for metal recycling pickup or drop-off; record disposal date and quantity.
One quick safety note: always wear eye protection and gloves when removing or cutting rivets.
Frequently Asked Questions
Can Rivet Installation Cause Galvanic Corrosion Between Mixed Metals?
Yes — I’ve seen rivet installation cause galvanic corrosion when dissimilar metal pairing contacts. I’d recommend using corrosion barriers, compatible materials, and sealants to isolate metals, plus regular inspections to catch early degradation.
How Do Temperature Extremes Affect Rivet Grip Over Time?
Temperature extremes loosen rivet grip over time: I’ve seen thermal cycling cause differential expansion and contraction that fatigues joints, and moisture ingress accelerates corrosion and swelling, both reducing clamp load and increasing loosening risk.
Are Blind Rivets Suitable for High-Vibration Applications?
Yes — I’d say blind rivets can work in high-vibration applications if chosen for vibration resistance, but I prefer solid rivets for superior shear strength; select proper material and test for your specific joint conditions.
What Procedures Exist for Documenting Rivet Installation Quality?
I use standardized inspection reports and digital traceability to log rivet installation quality, recording hole measurements, rivet specs, torque, photos, deviations, corrective actions, inspector signature and timestamps so audits and trend analysis stay reliable and transparent.
Can Rivet Failures Be Predicted Through Non-Destructive Testing?
Like a lookout scanning fog, I can predict many rivet failures: ultrasonic inspection finds subsurface flaws and fatigue monitoring tracks evolving cracks, but neither guarantees certainty, so I combine methods and regular inspections for best results.